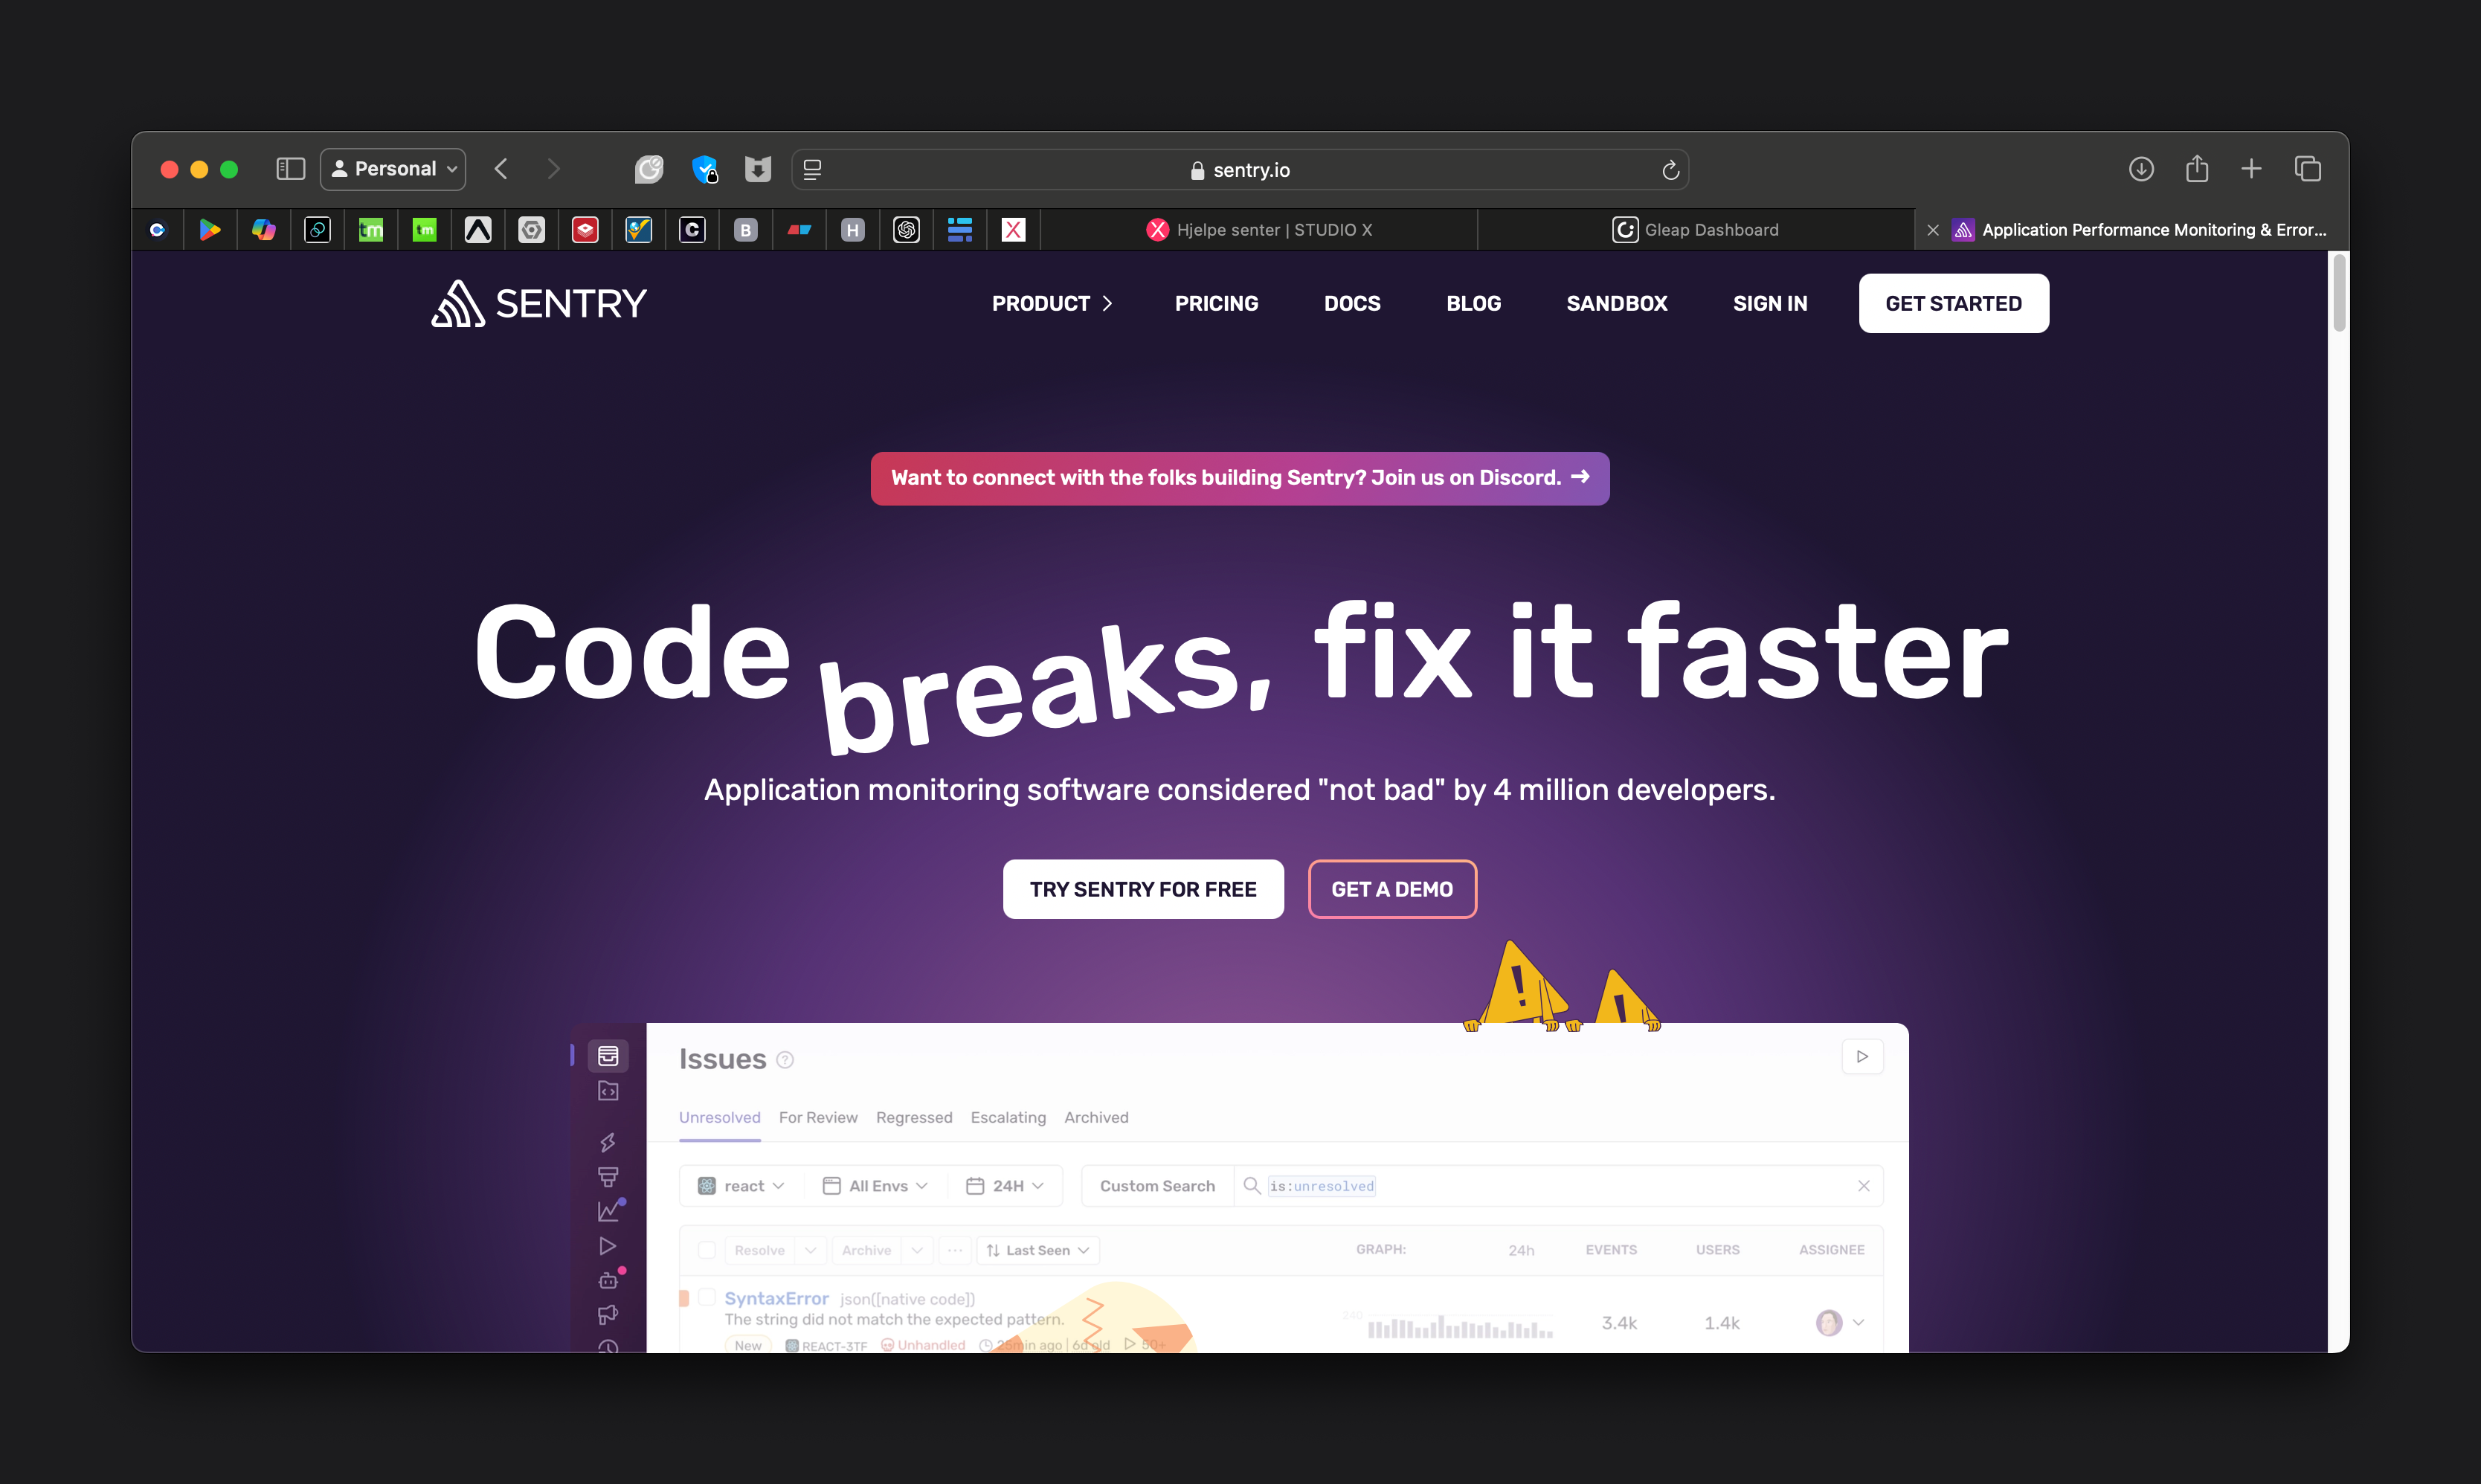
Sentry is a modern platform for error monitoring and real-time debugging, designed for software developers and teams. It offers the following key features:
Error Tracking: Sentry automatically captures errors and exceptions in applications across various platforms and programming languages.
Real-Time Monitoring: It provides instant insights into application performance and stability, enabling developers to quickly identify and resolve issues.
Error Diagnostics: Sentry provides detailed contextual information about each error, including stack traces, environment details, and user data.
Error Prioritization: Helps teams prioritize the most critical issues based on frequency and impact.
Integrations: Sentry integrates seamlessly with popular development tools and workflows, such as GitHub, Slack, and Jira.
Performance Monitoring: In addition to error tracking, Sentry offers tools to monitor application performance and identify bottlenecks.
Notifications: Sentry can be configured to send alerts to the team when critical errors occur.
Cross-Platform Support: Supports a wide range of programming languages and frameworks, including JavaScript, Python, Ruby, Java, and many more.
For you, Sentry can be a valuable tool to improve the quality of the applications being developed, reduce downtime, and streamline the debugging and error-fixing process. It can help you and your team deliver more stable and reliable applications.
Guide for setting up a Sentry.io account and inviting team members:
1. Create a Sentry.io account:
a. Go to https://sentry.io/signup/
b. Fill out the registration form with your email address, full name, and a strong password.
c. Select "Create account" to complete the registration.
2. Verify your email address:
a. Check your inbox for a verification email from Sentry.
b. Click on the verification link in the email to activate your account.
3. Create a new organization:
a. After logging in, click on "Create a new organization" if you don’t already have one.
b. Choose a name for your organization (e.g., "Studio X").
c. Select a plan that suits your needs (you can start with the free plan and upgrade later).
4. Invite team members:
a. In the Sentry dashboard, go to "Settings" (gear icon) at the top right.
b. Select "Members" from the menu on the left.
c. Click the "Invite Member" button.
d. In the invitation window, enter the following email addresses:
appdev@studiox.no (or other necessary users)
e. Select appropriate roles and permissions for each team member.
f. Click "Send Invites" to send the invitations.
5. Configure projects:
a. Go back to the main menu and select "Projects".
b. Click "Create Project" to set up a new project.
c. Select the platform you are using (e.g., iOS, Android, React Native, etc.).
d. Name the project and follow the instructions to integrate Sentry into your application.
6. Security and settings:
a. Review the security settings under "Settings" > "Security & Privacy".
b. Consider enabling two-factor authentication for increased security.
c. Customize notification settings under "Alerts" to ensure you receive relevant messages.
By following these steps, you will have set up a Sentry.io account for Studio X and invited the relevant team members. Remember that the invited individuals will receive an email with instructions to join your organization on Sentry.